
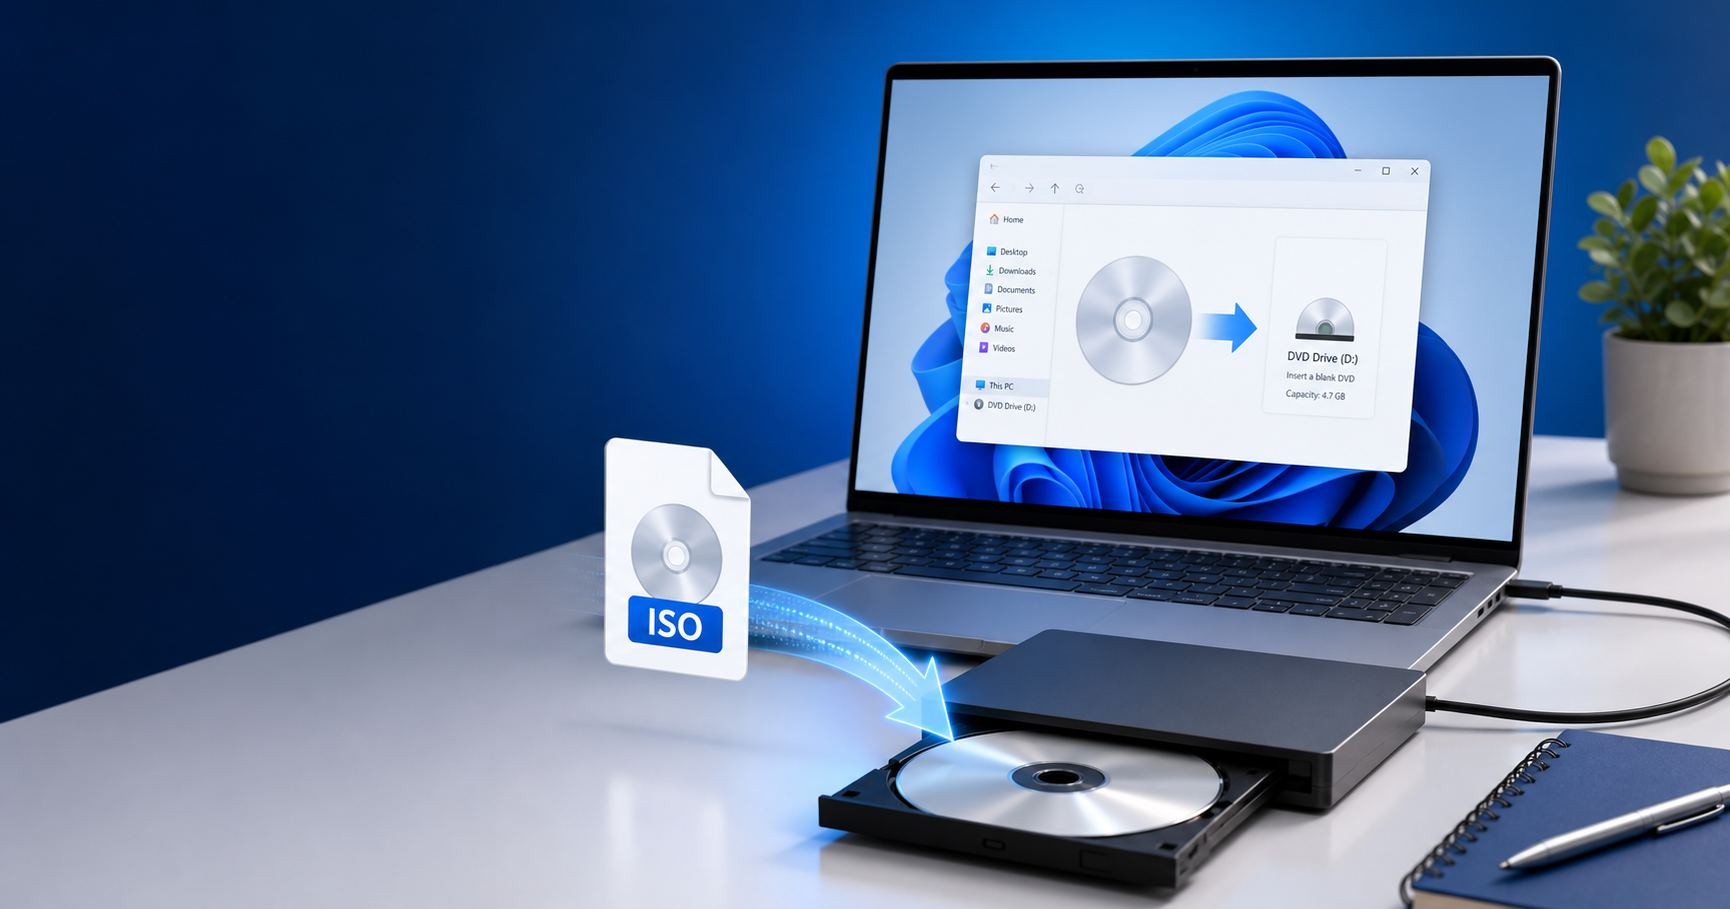
An ISO is a sector-by-sector disc image stored as one file. To make a usable installation, recovery, or archive disc, you must choose an image-burning command—not simply drag the .iso file onto the disc. This guide shows both the built-in Windows method and the more flexible Free Burning Studio workflow on Windows 11 and Windows 10.
Quick method: use Windows Disc Image Burner
Windows 11 and Windows 10 include a basic ISO burner. It is the quickest choice when you already have a finished ISO and only need to write it to one disc.
- Insert a blank writable CD or DVD into your burner.
- Open File Explorer and locate the ISO file.
- Right-click the ISO. In Windows 11, choose Show more options if needed, then select Burn disc image.
- Select the correct disc burner. Enable Verify disc after burning when reliability matters.
- Click Burn and wait for both writing and verification to finish.
If “Burn disc image” is missing, another app may have taken over the .iso file association. Select the ISO, choose Open with, and pick Windows Explorer, or use the Free Burning Studio steps below.
How to burn an ISO with Free Burning Studio
Free Burning Studio is useful when you also need to create ISO files, copy discs, burn data or audio discs, or control the writing mode and speed from one desktop application.
Download Free Burning Studio for Windows 11/10
Free download · No account required · A compatible CD/DVD writer is required for burning
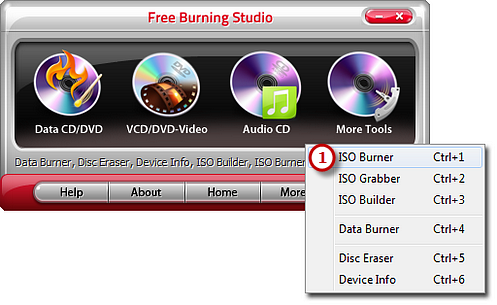
Step 1: Open ISO Burner
Install and launch Free Burning Studio. Insert a blank disc, select More Tools, and open ISO Burner.
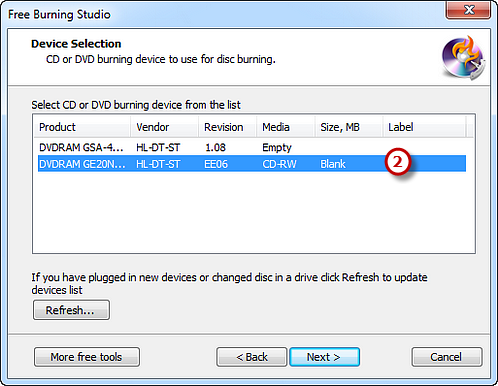
Step 2: Select the correct writing drive
The program scans for available optical drives. Choose the drive containing your blank disc. If you connected an external USB DVD writer after opening the program, click Refresh.
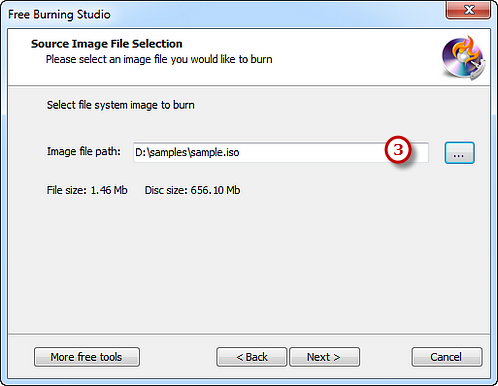
Step 3: Choose the ISO image
Use the browse button to select your .iso file. Compare the image size with the blank disc capacity before continuing. If the ISO is larger than about 4.7 GB, use suitable dual-layer media and a compatible drive, or create bootable USB media when the source publisher supports it.
Step 4: Choose a safe speed and burn
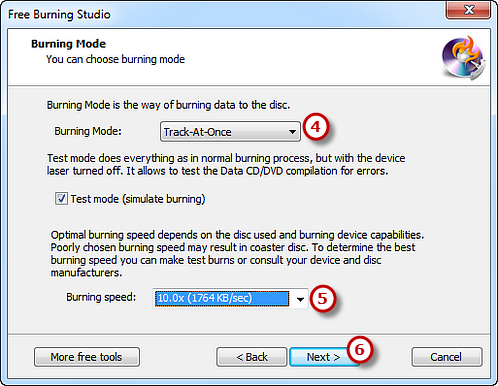
Select a speed supported by both the drive and disc. The maximum speed is not always the most reliable; a moderate speed is a sensible choice for installation or recovery media. Select a writing mode supported by your drive, enable test or verification options when available, and click Next. Do not eject the disc or disconnect an external drive until the process reaches 100% and completes.
How to check the burned DVD
Eject and reinsert the disc, then open it in File Explorer. A correctly burned image normally shows the ISO’s folders and files; it should not show only one file ending in .iso. For bootable media, verification confirms readable data but does not guarantee that every computer can boot from the disc. Firmware mode, Secure Boot, disc format, and the source ISO also matter.
Troubleshooting common ISO burning problems
The ISO is too large for the DVD
Check the ISO’s exact size and the disc capacity. Do not assume that every ISO fits a 4.7 GB disc. Use compatible dual-layer media or the software publisher’s recommended USB-media method.
Windows does not detect the DVD writer
Reconnect the USB cable, try a different port, and check Device Manager. Avoid an unpowered USB hub. Then restart Free Burning Studio and refresh the drive list.
The burn fails or verification reports errors
Try a new disc from a reliable manufacturer, choose a lower supported writing speed, close disk-heavy applications, and confirm that free space is available for temporary files. Repeated failures with different discs can indicate a drive or source-image problem.
The disc contains only the ISO file
The file was copied as ordinary data rather than written as a disc image. Start again with a blank disc and use Burn disc image in Windows or ISO Burner in Free Burning Studio.
Frequently asked questions
Can Windows 11 burn an ISO without extra software?
Yes. Windows 11 includes Windows Disc Image Burner for writing an existing ISO to compatible optical media. Free Burning Studio adds ISO creation and broader CD/DVD workflows.
Can I burn an ISO to a USB drive with these steps?
No. Optical-disc burning and making bootable USB media are different processes. Use the USB creation method recommended by the ISO publisher.
Should I use a CD or DVD?
Use media that your writer supports and that has enough capacity. CDs are suitable for small images; most larger ISO files need a DVD or other supported media.
Does Free Burning Studio work on Windows 11 and Windows 10?
Yes. The current download supports Windows 11 and Windows 10.
Continue with the related guides: how to create an ISO image, how to burn a data CD or DVD, and how to create an audio CD.